Mockups
How to Create 3D Product Mockups that actually sell your vision in 2026. Forget flat PSD templates that look fake under scrutiny. Real 3D mockups let you spin products, drop them into lifestyle scenes, slap on dynamic designs, and even preview AR interactions. They bridge the gap between concept and shelf faster than ever.
This is your no-BS playbook for creating convincing 3D product mockups—whether you’re a solo designer, small brand, or part of a team pushing packaging that pops.
Quick overview:
- Core process: Model or import geometry, apply materials and branding, light the scene, render high-res outputs.
- Why it matters: Clients and customers expect photoreal results that work across web, social, and print.
- Tools mix: Free options like Blender stand strong alongside pro tools like KeyShot and Cinema 4D.
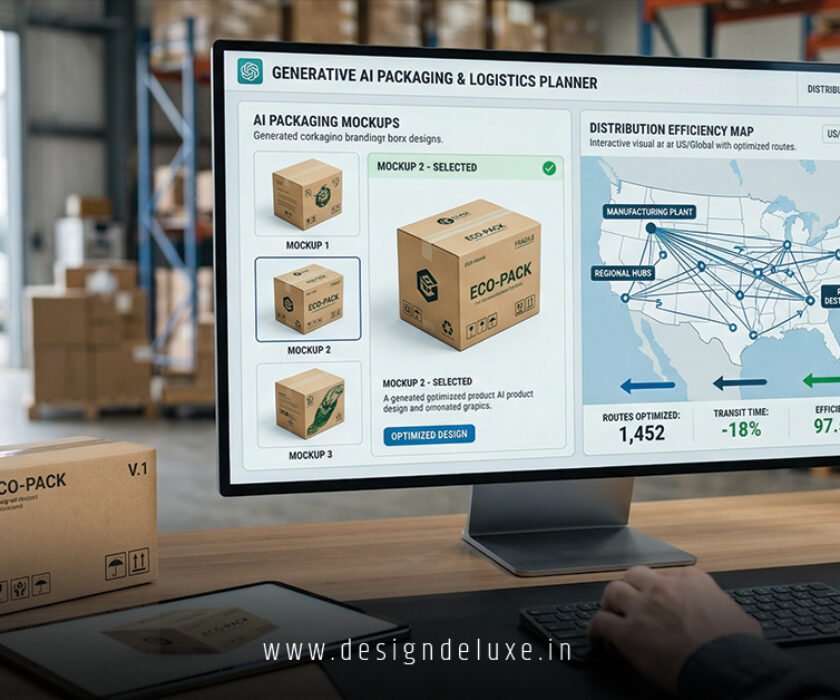
- 2026 edge: Seamless integration with motion graphics and adaptive branding systems for living product visuals.
- Time investment: Beginners can knock out basic mockups in hours; full pro scenes take days but pay off big.
Why 3D Product Mockups Beat Traditional Methods in 2026
Flat mockups still have their place for speed. But 3D gives you control over every angle, lighting change, and material tweak.
The kicker? Shoppers browse in 3D now—AR previews on phones, 360 spins on sites. Your mockups need to match that reality.
How to Create 3D Product Mockups ties directly into bigger identity work. Pair them with Dynamic adaptive logo design with motion graphics and 3D packaging for 2026 brands and suddenly your concepts feel alive across every touchpoint. One system, infinite applications.
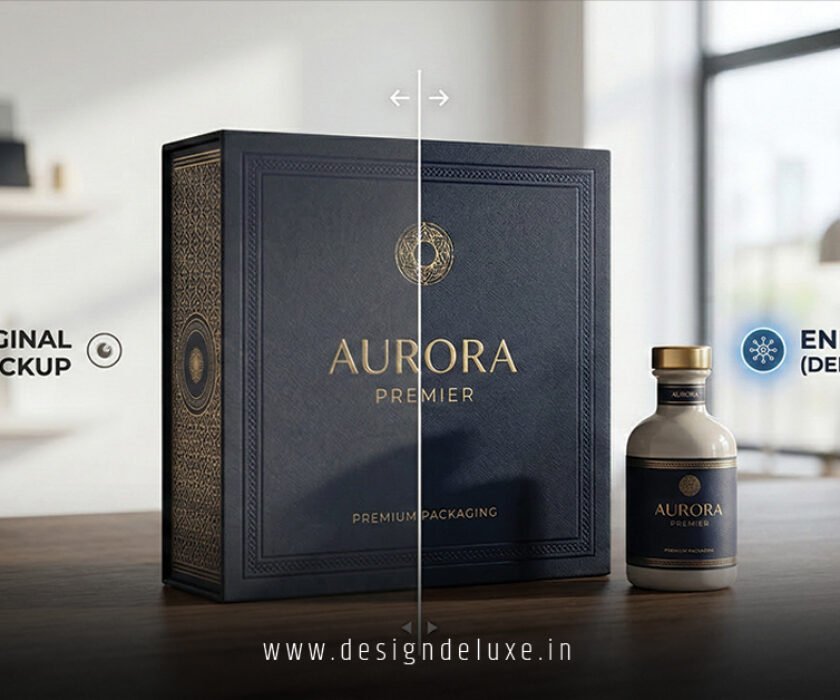
Rhetorical question: Why present a static box when you can show it rotating under dramatic lighting with your logo pulsing on the surface?
Essential Tools for 3D Product Mockups
Pick based on budget and needs:
- Blender (free): Full modeling, texturing, animation, and rendering powerhouse. Steep curve but unmatched community and add-ons.
- KeyShot: Real-time rendering king for product viz. Drag-and-drop materials, insane speed for iterations.
- Cinema 4D: Great for motion-heavy workflows and clean product animations.
- Adobe Dimension (or Substance tools): Easier entry for Photoshop natives.
- Browser options like Vectary or Canva’s mockup tools for quick starts.
In my experience, start free with Blender, then add KeyShot when client demands demand faster photoreal turns.
Step-by-Step: How to Create 3D Product Mockups
Here’s exactly what I’d do on a fresh project.
- Define the Brief
Nail specs: dimensions, materials, branding assets, target angles, and usage (web hero, packaging comp, AR preview). Sketch rough camera views on paper. - Gather or Model the Base Geometry
Download accurate product models from sites like TurboSquid or Sketchfab (check licenses). Or model simple shapes in Blender. For packaging, build from dielines imported as SVG. - Set Up the Scene
Import your model. Apply UV unwrapping if needed. Position lights—key, fill, rim for that studio polish. Add environment HDRI for realistic reflections. - Apply Materials and Branding
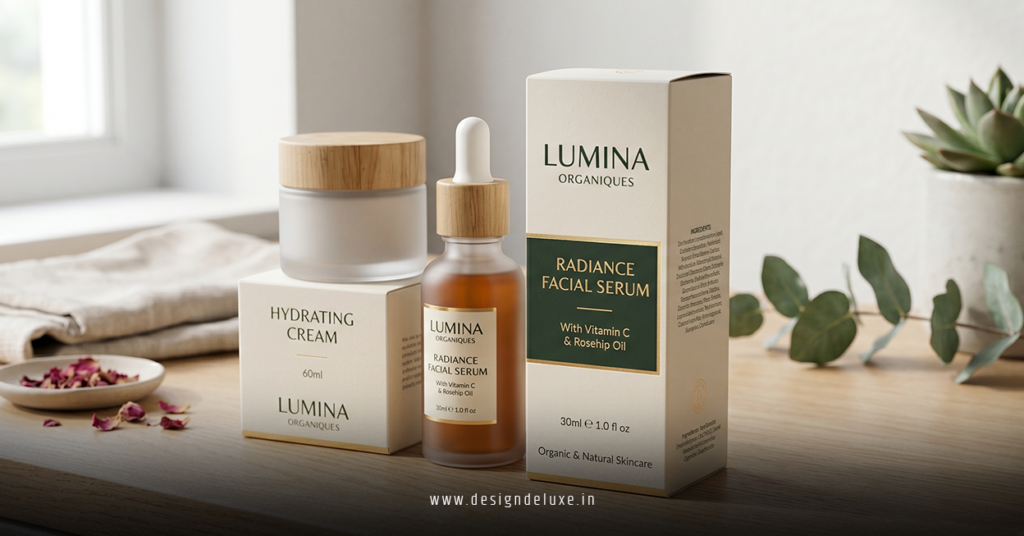
Use PBR textures for realism. Smart objects or decal projectors for logos and labels. Match colors precisely from your brand system. For dynamic elements, prepare texture maps that support animation. - Add Environment and Props
Place the product in context—shelf, table, hand. Subtle imperfections (dust, fingerprints) sell realism without overdoing it. - Render and Post-Process
Output multiple angles, turntables, or isolated alphas. Use compositing in Blender or Photoshop for final tweaks like shadows and color grading. - Export and Optimize
Web versions: compressed glTF or video. Print: high-res PNG/TIFF. Document your setup for team handoff.
What usually happens? Newbies obsess over perfect modeling and ignore lighting. Lighting makes or breaks the shot—spend time there.
Comparison Table: Tool Choices for Different Needs
| User Level | Best Tool Combo | Learning Curve | Cost | Best For | Render Speed |
|---|---|---|---|---|---|
| Beginner | Canva + Blender basics | Low | Free | Quick packaging visuals | Fast |
| Intermediate | Blender + Photoshop | Medium | Free | Custom products, full control | Medium |
| Pro | KeyShot + Cinema 4D | High | Paid | Client-ready photoreal + motion | Very Fast |
| Team | Blender + KeyShot pipeline | Medium-High | Mixed | Scalable branding systems | Fast |
| AR Focus | Vectary or Adobe tools | Low-Medium | Subscription | Interactive web mockups | Real-time |
Common Mistakes & How to Fix Them
- Poor topology or bad UVs: Textures stretch weirdly. Fix: Learn basic retopology or use auto-UV tools early.
- Overly perfect scenes: Looks CG and fake. Fix: Add subtle noise, varied lighting, and real-world imperfections.
- Ignoring brand consistency: Logos warp or colors shift. Fix: Reference your full adaptive system from the start.
- Lighting that doesn’t match: Product floats in space. Fix: Match HDRI environment and test multiple times of day.
- File size explosion: Slow renders and huge exports. Fix: Optimize geometry, use instance objects, and bake textures where possible.
The fix is always iteration. Render low-res previews constantly. Save versions. Show clients roughs before polished finals.
For packaging-specific workflows, resources like The Dieline offer constant inspiration on turning 2D into compelling 3D. Check Adobe’s own guides for creating mockups in Illustrator and Dimension. And for motion integration, explore Envato’s product visualization tutorials.
Advanced Tips for 2026 Workflows
Link your mockups to dynamic adaptive systems. Export logo variations as texture atlases so one model supports multiple brand states. Add simple animations—product rotation with logo motion graphics—for social assets.
AR-ready exports turn static mockups into interactive experiences. Test on phones early.
Budget tip: A solid intermediate setup (Blender + free assets) can deliver pro results for under $500 in software if you skip full KeyShot licensing initially.
Key Takeaways
- How to Create 3D Product Mockups starts with clear specs and strong reference gathering—rushing this kills quality.
- Master lighting and materials before chasing fancy renders.
- Integrate with your broader branding: adaptive logos and 3D packaging create unstoppable cohesion.
- Test outputs in real contexts—web, print, AR.
- Build reusable assets and templates to speed future projects.
- Iterate relentlessly with low-res previews.
- Combine tools: modeling in Blender, rendering in KeyShot for best of both worlds.
- Always prioritize realism through imperfection over sterile perfection.
Nail this skill and your presentations stop being pitches. They become experiences.
Next step: Download Blender today, grab a free product model, and recreate one item from your current project. Spend one focused hour on lighting. You’ll see the difference immediately. Keep building—your portfolio (and clients) will thank you.
FAQs
How long does it take to learn how to create 3D product mockups as a beginner?
You can produce usable results in a weekend with focused tutorials. Real proficiency takes 4-8 weeks of regular practice. Focus on one tool first.
What free tools work best for professional-looking 3D product mockups in 2026?
Blender handles almost everything end-to-end. Combine with GIMP or Krita for texturing and DaVinci Resolve for video outputs. Quality depends more on technique than price.
How do 3D product mockups connect to Dynamic adaptive logo design with motion graphics and 3D packaging for 2026 brands?
They let you visualize the full adaptive system in context. Apply animated logos onto spinning packages, test variations instantly, and create assets that work seamlessly across digital and physical.