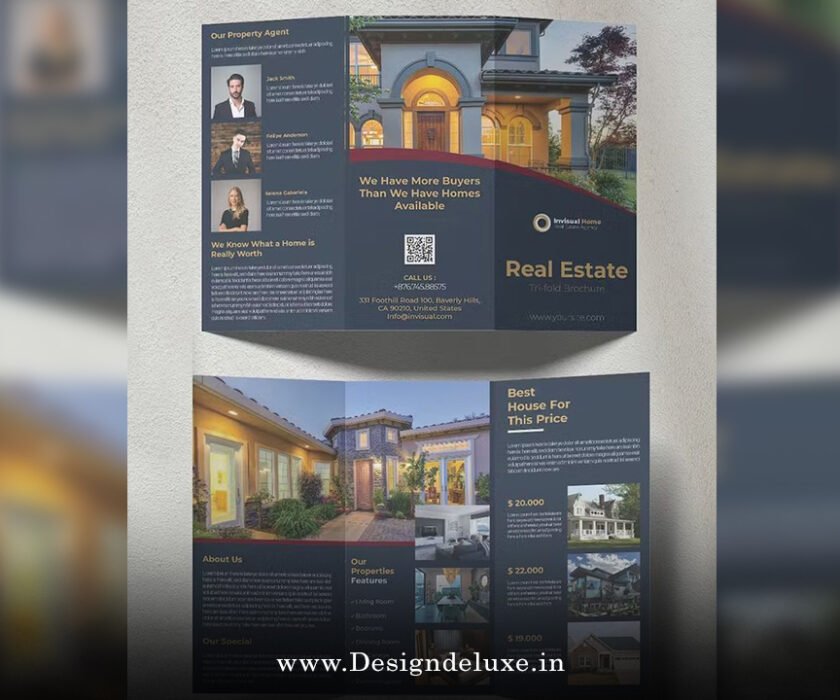
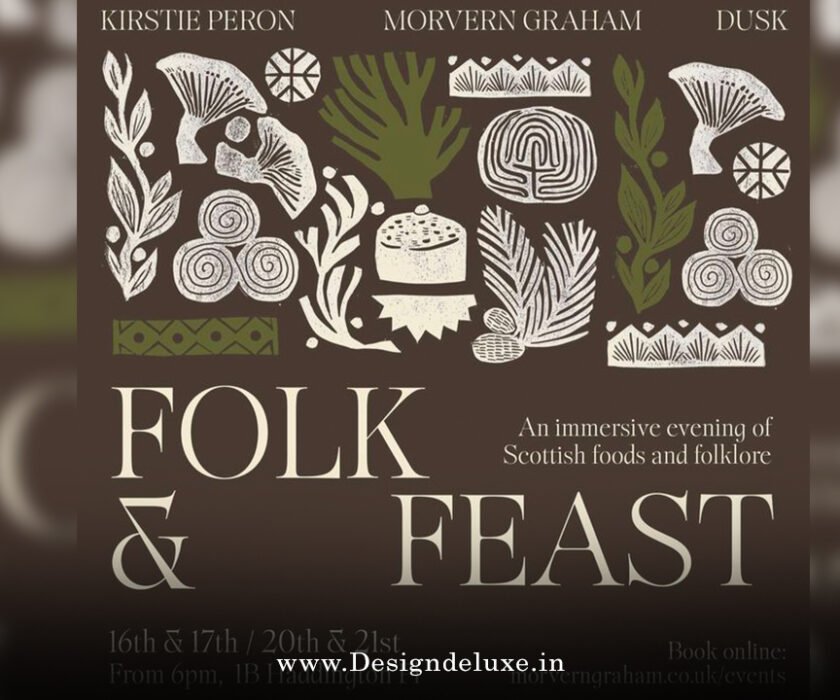
Flyer / Broucher Design
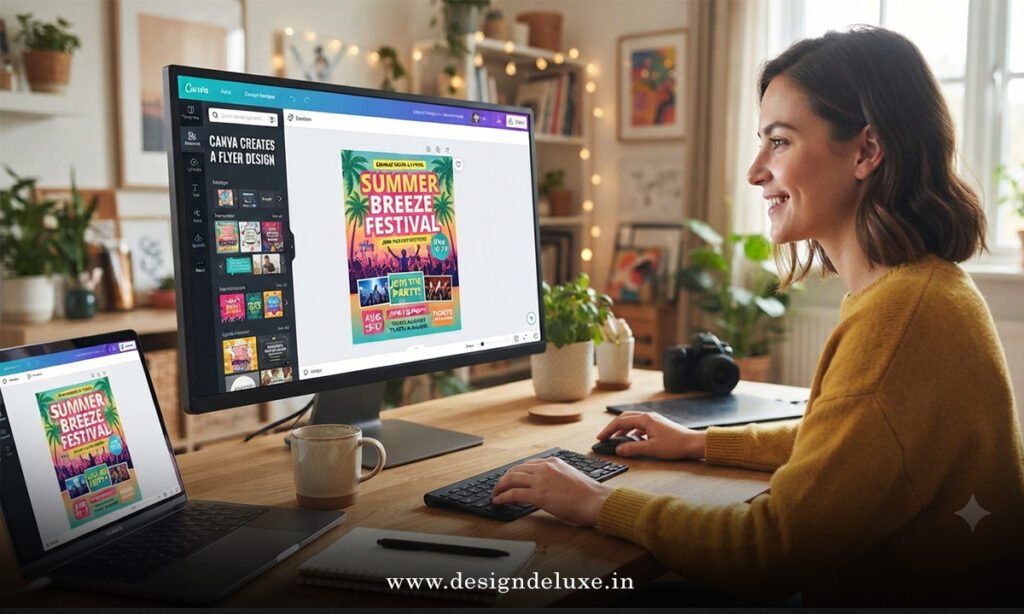
Canva flyer design tutorial starts the same way every strong print piece does—with a clear goal and a template that already has hierarchy built in. You open the tool, grab a layout that matches your offer, swap in your headline and visuals, then export print-ready. No design degree required. In under 30 minutes you can walk away with a flyer ready to hand out or post.
- Log in and search “flyer” to access thousands of free and Pro templates
- Customize text, images, colors, and branding in one editor
- Add a QR code and single clear CTA for lead tracking
- Export as PDF Print with bleed for professional results
- Pair the finished design with proven layout ideas that actually convert
Why a Canva Flyer Design Tutorial Matters for Lead Generation
Most people open Canva, pick a pretty template, and call it done. That’s how you end up with something that looks fine on screen and fails on the street. The real win comes when you treat the tool like a conversion machine.
In my experience, the flyers that pull calls and scans follow the same playbook outlined in Flyer Design Ideas: Templates That Generate Leads. Bold benefit headline. One offer. Tight white space. Trackable next step. Canva simply makes executing that playbook fast.
What usually happens is beginners overload the page. You fix that by starting with structure, not decoration.
Step-by-Step Canva Flyer Design Tutorial
Follow these exact moves. They work whether you’re on free or Pro.
- Go to Canva.com and sign in (or create a free account).
- Click “Create a design” and search “Flyer.” Choose portrait US Letter (8.5 × 11 in) for most handouts, or half-letter if you want something pocket-friendly.
- Browse templates. Filter by free, industry, or color. Click the one closest to your goal—sale, event, service, or grand opening.
- Replace every placeholder. Double-click text boxes and type your real headline first. Keep it under ten words and benefit-driven.
- Upload your logo and any high-resolution photos (300 DPI ideal). Drag them into place. Use the crop and adjust tools to tighten composition.
- Open the Brand Kit (Pro) or manually set your brand colors so everything stays consistent. Limit yourself to two fonts.
- Add a QR code via Elements → QR Code. Link it to a landing page or form so you can measure scans.
- Place your call to action in the bottom third—big, high-contrast, impossible to miss.
- Turn on “Show print bleed” in View settings. Keep critical text and logos inside the safe zone.
- Click Share → Download → PDF Print. Check “Crop marks and bleed.” Order a small test print or send the file to your printer.
That’s the full workflow. Once you do it twice, muscle memory takes over.
Canva Flyer Design Tutorial: Pro Tips That Separate Amateurs from Pros
Use the Position and Align tools constantly. Everything should snap to a clean grid.
Layer elements deliberately. Background first, hero image second, headline third, details last.
Test contrast. If you can’t read the body text from arm’s length on your screen, neither can the person holding the printed version.
Magic Studio tools (Background Remover, Magic Edit) save time when you need clean product shots or quick adjustments.
Duplicate the page before major changes so you always have a clean version to fall back on.
Common Mistakes in Canva Flyer Design and How to Fix Them
Starting from a blank canvas when a solid template already exists. Fix: always begin with a template that matches your objective.
Using web-resolution images that pixelate on print. Fix: upload only files that are 300 DPI at the size they’ll appear.
Cramming three offers and five phone numbers onto one page. Fix: one goal, one CTA.
Ignoring bleed and safe margins. Fix: enable the guides before you finalize.
Choosing decorative fonts that look cool on screen and become unreadable on paper. Fix: stick to clean sans-serifs for body text and one strong display font for the headline.
Quick Comparison of Canva Flyer Workflow Options
| Approach | Time Required | Skill Level | Best Result | When to Use |
|---|---|---|---|---|
| Template + light edits | 15–25 min | Beginner | Clean, professional | Most local business needs |
| Template + Brand Kit + custom photos | 25–40 min | Intermediate | On-brand and polished | Ongoing campaigns |
| Custom size from scratch | 45–60 min | Advanced | Fully unique | Specific non-standard sizes |
| Magic Design prompt | 5–10 min | Beginner | Fast first draft | Testing multiple concepts quickly |
Export and Print Checklist
Before you hit download, confirm:
- Dimensions match final print size
- All images are high resolution
- Bleed is enabled and critical content sits inside the safe area
- File type is PDF Print
- Colors are set for CMYK if your printer requests it (Pro feature)
Canva’s own print service can handle the rest if you want doorstep delivery.
You’ve now got a complete Canva flyer design tutorial that produces pieces built for response—not just decoration. Apply the same principles from Flyer Design Ideas: Templates That Generate Leads and your next batch will do more than look good. It will generate actual leads.
Key Takeaways
- Always start with a template instead of a blank page
- Write the benefit headline before you touch any other element
- Keep body copy short and the CTA dominant
- Design with bleed and safe margins from the first minute
- Export as PDF Print at the correct size and resolution
- Test a small print run before ordering hundreds
- Link every QR code to a trackable destination
- Reuse the same Brand Kit across future flyers for consistency
Open Canva right now, search “flyer,” and build the first version. The only way to get better is to ship something real this week.
FAQs
How long does a basic Canva flyer design tutorial take for a complete beginner?
Most people finish a solid first version in 20–30 minutes once they follow the step-by-step process above.
Do I need Canva Pro for a professional Canva flyer design tutorial result?
No. The free plan gives you enough templates, fonts, and export options for excellent print-ready flyers. Pro simply speeds up branding and advanced tools.
Can I use the same Canva flyer design tutorial process for both print and digital versions?
Yes. Design once at print size, then duplicate the page and resize or crop for social or email while keeping the core message intact.